A new start, first some history!
The QuinLED project originally started at the end of 2015. I was toying with building a house and since I’ve always been interested in lighting I wanted this house to be fully LED lit! But, I also wanted dimming for each of these lights, no matter what light it was, ceiling spotlights, LED strip and even lights in the arm guide rail of our stair!
Existing products didn’t suffice
I looked into existing home Domotica systems to control all these lights and I quickly found Z-wave Fibaro dimmers and Philips Hue. Both excellent systems, able to satisfy most of my needs but after testing both there was a big caveat to these systems. They where somewhat limited in functionality (more about that below) but more prohibitive, these systems cost A LOT. An example, with Philips HUE a single spotlight (just the light bulb, nothing else) would cost around 40 euro! I was planning on getting at least 20 in the future house so only those lights would have cost 800 euro, for some simple lights!
Calculating this through with all the plans I had, this was just too expensive. Great systems, don’t me wrong, if you just want to replace a few lights bulbs, control it with an app on your phone and be done with it, get some Philips HUE.
My wishes
So I looked at doing it the DIY way and learned that there wasn’t really any project out there which had a ready done, “make it this way” guide. Some people had built it on breadboards and some code was available, but nothing really done, including hardware and Domotica system integration. My wishes were also a bit “more” than normal:
- I didn’t want 100Hz or 200Hz PWM but at least 1000Hz
- I wanted a selectable time for fading up and dimming down LEDs (for instance, 2 seconds), no instant on/off
- Controllable using widely available Domotica systems
- I started using Domoticz
As I mentioned above, since I couldn’t really find a project to make, I decided to try and build it myself, fun!
First versions based on an Atmel Arduino chip
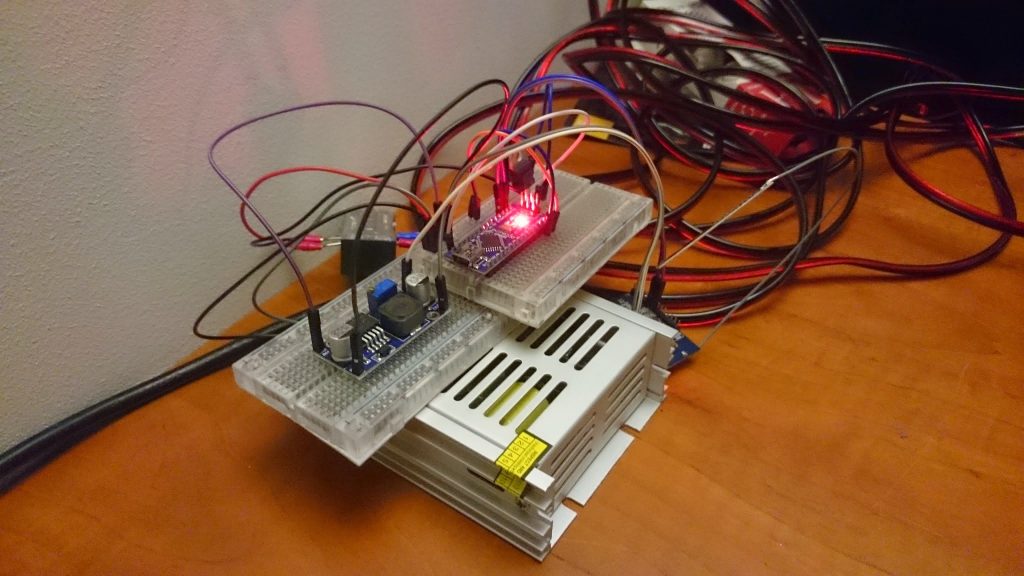
Lots of research happened and I built a first version that was based around an Arduino chip combined with an external wireless module and 2 mosfets. It was clunky and only on a breadboard but after a while, I got it all to work, amazing! I’ve never really done much programming and although I’m knowledgeable about hardware in Enterprise IT systems, this was all new to me.
Still, this version would cost around 21$ and while cheaper then commercial systems (and more flexible) it was a bit meh as a full solution. Besides, breadboard only so definitely not easy and reliable to reproduce multiple times.
Introducing the ESP8266
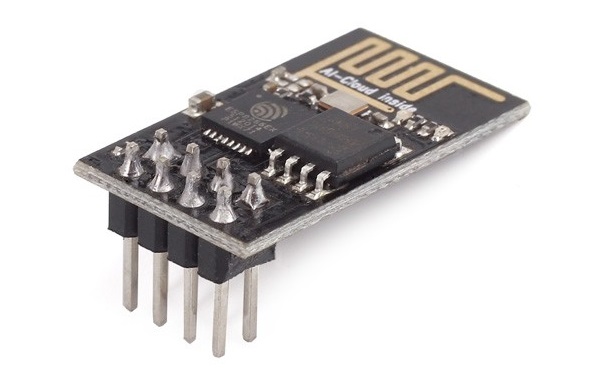
Right around the time I was toying with this and I had finished my Arduino based version the ESP8266 was introduced and became available. Now this was interesting! The ESP8266 was much cheaper then the Arduino chip + wireless but had similar capabilities.
QuinLED was born!
Over the years I made several versions of the QuinLED modules based around the same design. After the second version (beginning of 2016) you would be able to build a 2 channel WiFi connected PWM LED dimmer for around 7$! Very very cheap and easily affordable to use all around my house!
I had also programmed custom code in NodeMCU LUA because the Arduino IDE for the ESP8266 was not able to access the Hardware PWM timings of the ESP chip. Using NodeMCU LUA the PWM dimming was able to run at 1000Hz for both channels, make it very “flicker free” especially vs commercial available dimmers which often only run at 100Hz making the flickering visible.
Tutorials and videos
While doing all of the above, I documented everything in written articles much like this one. A while after that (we had moved in the new house by then) I also started a YouTube channel and chose to also do videos about for all these tutorials. The main index about all those articles and videos can be found here.
The Future, a new project
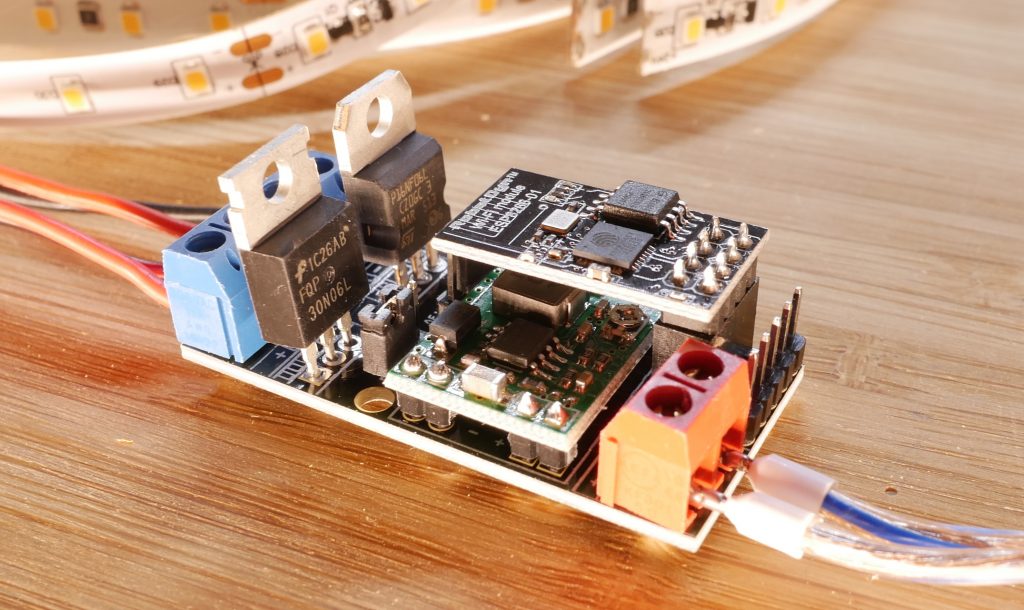
But, https://quinled.info isn’t about the above dimmer module. It has served me well over the past few years and all the lights in the house use it and it also still remains the smallest design I’ve ever made, my work for Project: Ultimate Overkill Desk required me to have a lot of analog LED channels and for the first time also use digital LEDs! See this next article to learn why I’m bringing out new boards!